
Last updated October 16, 2026
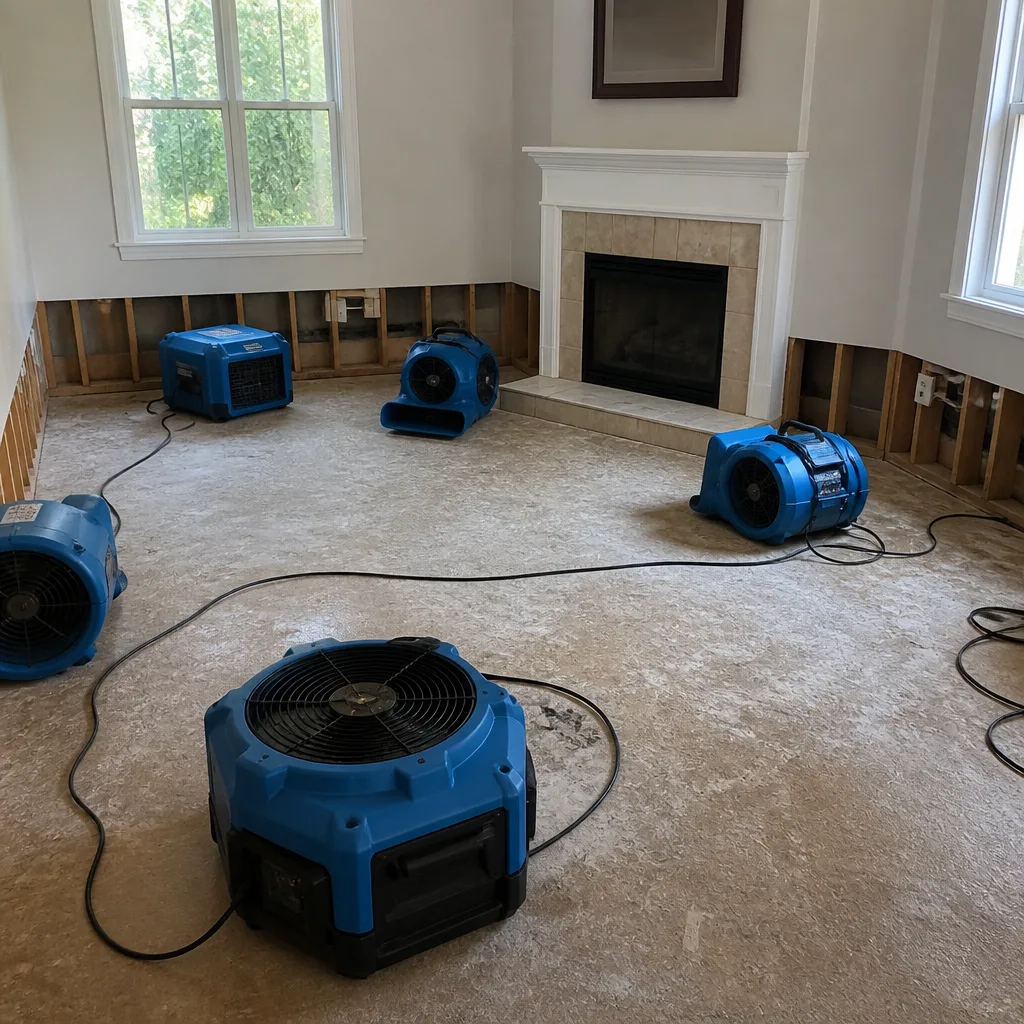 Water damage drying
 Fire & smoke cleanup
 Mold remediation
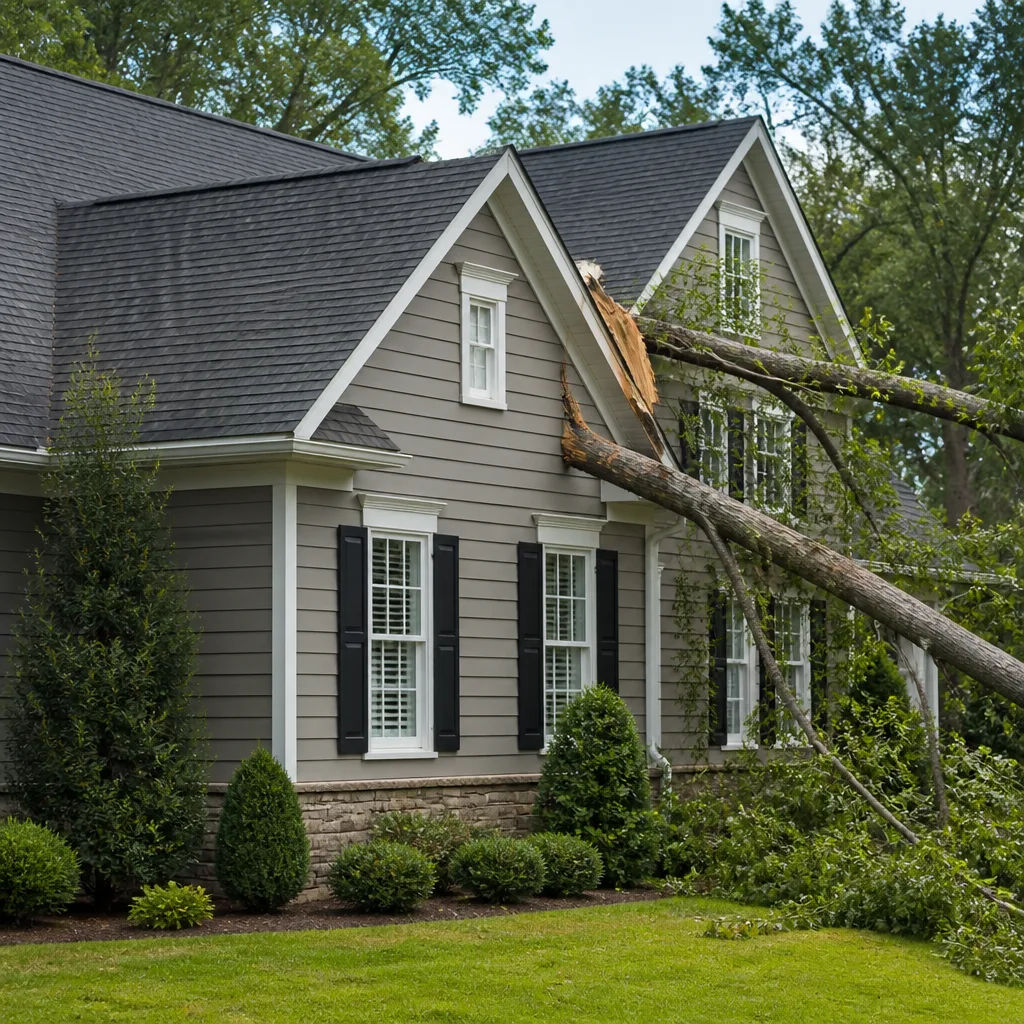 Storm response
 Sewage cleanup
 Reconstruction
Free visual inspection and a written scope of work before any mitigation begins - photos, moisture readings, and drying logs go in your claim file
The scope we write is the scope we bill. Anything new gets shown to you, in writing, before we touch it.
Get your free estimateWater Damage Restoration Maintenance Checklist for Torrance Homeowners
The top insurance claim driver in South Bay ZIP codes isn’t storm flooding. It’s slow leaks behind walls that go undetected for months. By the time a Torrance homeowner smells something, Category 1 water has often already become Category 3. This guide walks you through a system-by-system maintenance checklist built around the actual failure points we see on restoration jobs in Torrance, not the generic seasonal tips you’ll find on every other contractor’s website.
Quick Answer
A water damage prevention checklist for Torrance homeowners should cover five building systems: supply lines, drain lines, HVAC condensate, roof penetrations, and slab areas. Inspect each system semi-annually, replace washing machine hoses every five years and water heaters at year ten, and use a $15 moisture meter to check behind drywall before visible stains appear. Document everything with dated photos so your insurer cannot argue pre-existing neglect if a claim is filed.
Restoration work we handle
Table of Contents
- Supply Lines: The Most Common Failure Point in Torrance Homes
- Drain Lines: What Slow Drains Actually Tell You
- HVAC Condensate: The Attic Leak Nobody Checks
- Roof Penetrations and the Coastal Moisture Load
- Slab Areas, Crawl Spaces, and Vapor Barriers
- How to Use a $15 Moisture Meter Before the Drywall Shows It
- Annual Documentation: What to Photograph and Why Insurers Care
- Common Mistakes to Avoid
- When to Call a Professional
- Frequently Asked Questions
Supply Lines: The Most Common Failure Point in Torrance Homes
Supply line failures account for the majority of water damage claims we walk into across Torrance. These are the pressurized lines running to sinks, toilets, washing machines, water heaters, and ice makers. When they fail, they fail fast. A burst supply line can release six to eight gallons per minute. That’s a flooded laundry room in under fifteen minutes.
Here’s the inspection checklist, in order of failure frequency:
- Washing machine hoses: Rubber hoses degrade from the inside out. If yours are rubber and older than five years, replace them with braided stainless steel now. This is the single highest-ROI replacement in this entire guide.
- Under-sink connections: Turn off the angle stops, check the compression nuts for corrosion, and look for mineral staining at the ferrule. Torrance water runs moderately hard, which accelerates gasket wear.
- Toilet supply lines: The flexible connector between the angle stop and the toilet tank is a common silent leaker. Check for any sign of moisture at the plastic nut.
- Water heater inlet and outlet: Look for green or white crust forming at the fittings. That’s electrolysis, and it means the dielectric union has failed.
- Ice maker lines: These are often plastic and brittle. If you can’t remember replacing yours, you haven’t replaced it enough.
We’ve seen supply line failures in every Torrance neighborhood, from the post-war bungalows in Old Torrance to the tract homes up in Southwood. The common thread is age and deferred replacement. A braided steel hose costs twelve dollars. The restoration bill for a burst one starts around four thousand.
Under the Garrison Standard, the price we put in writing before any work starts includes the full scope of what we find, not just what you called about. That matters because a supply line failure in a second-floor bathroom often means damage in the room below, and a written price protects you from discovering the true cost only after demolition begins. If you’re already dealing with an active leak, the fastest path to a straight answer is to call Water Damage Restoration in Torrance at (424) 323-4271.
Drain Lines: What Slow Drains Actually Tell You
Drain lines fail differently than supply lines. They don’t burst under pressure. They leak at joints, crack with settling, or get pushed apart by root intrusion. The damage is slower, which makes it more dangerous because it sits behind walls and under floors long enough to grow mold before you notice anything.
The failure signatures to look for:
- Slow draining fixtures: A tub that takes two minutes to empty isn’t a clog. It’s often a partially collapsed or bellied drain line that’s holding water and seeping at the low point.
- Warped cabinet bases under sinks: The bottom of a vanity cabinet tells the truth. If the particle board is swollen even slightly, there’s been a drain leak at some point.
- Discolored ceiling spots below bathrooms: An intermittent drain leak from a tub shoe or shower pan will show up as a faint tan ring on the ceiling below, long before it drips.
- Gurgling from other fixtures when you flush: That’s air being pulled through a trap, which means the vent or the line itself is compromised.
In Torrance, the age of the housing stock matters. Homes built in the 1950s and 1960s on the west side of town often have cast iron drain lines under the slab. Cast iron rusts from the inside and eventually cracks or collapses. If your home still has original cast iron and you’re noticing repeated backups, the problem is likely structural, not a clog.
Regular maintenance here means two things. First, once a year, run every fixture and watch the drain rate. Second, if you have accessible crawl space or a basement mechanical room, inspect the exposed drain runs for condensation, mineral streaks, or rust bloom. These are the early signs that a joint is failing.
HVAC Condensate: The Attic Leak Nobody Checks
Your air conditioner produces condensate every time it runs. In Torrance, where summer humidity sits above seventy percent on the coast side, that’s a lot of water. The condensate line carries it from the evaporator coil to a drain, usually outside or into a plumbing fixture. When that line clogs with algae or mineral scale, the pan overflows, and the water goes somewhere else. In an attic-mounted air handler, that means a ceiling below. In a closet-mounted unit, it means the platform and surrounding drywall.
This is the failure point that most surprises homeowners. They have no idea their AC is producing water until a brown stain appears on a hallway ceiling in August.
Your condensate checklist:
- Locate the primary condensate drain. It’s typically a PVC pipe exiting near the exterior wall or running to a drain. Pour a cup of white vinegar down it twice a year to keep algae from forming.
- Check the secondary drain or overflow pan. If you see water in the emergency pan, the primary line is clogged and the system is already in failover mode.
- Inspect the float switch. If your system has one, test it by lifting the float. The unit should shut off. If it doesn’t, replace it. This is the $20 part that prevents a $3,000 ceiling repair.
- Look at the coil cabinet for rust or mineral staining. That tells you condensate has been wicking down the cabinet exterior at some point.
We run desiccant drying equipment on water damage jobs in Torrance where the source was HVAC condensate and the homeowner had no idea until the ceiling sagged. Dri-Eaz and Phoenix desiccant units can pull moisture from wall cavities even in the high coastal humidity that makes conventional drying slower. The equipment matters because Torrance’s ambient humidity can hover near eighty percent on foggy summer mornings, which extends drying times without proper controls. If you’re seeing a ceiling stain you can’t explain, treat it as an active leak until proven otherwise. Call (424) 323-4271 and we’ll send someone who can identify the source without tearing your ceiling open blind.
Roof Penetrations and the Coastal Moisture Load
Roofs in Torrance take a beating. Salt air, extended morning fog, and occasional heavy rain cycles work on flashing and sealants. But the number of roof-related water damage claims we see isn’t from the roof deck failing. It’s from penetrations: vent pipes, skylights, chimney flashing, attic vents, and satellite dish mounts. The roof deck itself might have fifteen years of life left, but the caulking around a plumbing vent might be cracked and letting water in during every rain event.
Here is the roof penetration inspection sequence:
- From inside the attic, on a bright day, look up. If you can see daylight anywhere except at an actual vent opening, water can get in there too.
- Check the underside of the roof sheathing around penetrations. Dark staining that follows the framing is water intrusion. Staining that follows the sheathing joints is condensation, which is a ventilation issue.
- Inspect all caulked flashings from the exterior or with binoculars. Silicone and butyl caulk in coastal sun fails in three to five years. If it’s cracked, shrinking, or pulling away, it’s time to redo it.
- Check the attic ventilation itself. Soffit vents and ridge vents need to be clear. Torrance’s coastal fog means attics get loaded with moisture. Without proper airflow, that moisture condenses on the underside of the sheathing and causes slow, widespread rot that insurance may call pre-existing neglect.
The coastal moisture load is real. A house on the water side of Torrance absorbs more atmospheric moisture than a house in the Valley. Your attic ventilation was probably calculated using generic builder specs that didn’t account for weeks of fog-moisture loading. If your roof sheathing is damp to the touch in the morning or you see condensation on the roofing nails, your ventilation is underperforming for this climate.
We’ve run enough roof-leak losses in Torrance to know that by the time a water stain appears on the ceiling drywall, the insulation above it is saturated and has lost its R-value. That means the repair isn’t just a dry-out; it includes insulation replacement and sometimes sheathing repair. Every job we do is documented in a format that supports your insurance claim, including moisture mapping and photo records, so the adjuster sees the full scope with no back-and-forth. If you’ve already got a roof leak, start with Water Damage Restoration in Torrance. If you’re dealing with fire or smoke separate from water, Fire Damage Restoration in Torrance handles that line of work.
Slab Areas, Crawl Spaces, and Vapor Barriers
This is where Torrance’s housing stock creates conditions that generic checklists miss. A significant portion of Torrance’s post-war housing was built slab-on-grade. With slab-on-grade construction, water supply lines and drain lines run under the concrete. A leak under the slab doesn’t present as a puddle. It presents as warm spots on the floor, cracks that grow, or unexplained increases in the water bill.
Here is the slab-area checklist:
- Monitor the water bill month over month. A sudden jump of twenty percent or more with no change in usage is a slab leak until proven otherwise.
- Feel for warm spots on the concrete floor. In the winter, a hot water line under the slab will produce a distinctly warm patch.
- Watch for cracking that runs in a line. Soil movement from a longitudinal leak can crack slabs in the direction of the pipe run.
- Check baseboards in rooms adjacent to plumbing runs. Wicking moisture shows up as peeling paint or swollen MDF at the bottom edge.
For homes with raised foundations and crawl spaces, the issue is the vapor barrier. A proper vapor barrier is a six-mil or heavier polyethylene sheet laid over the dirt, sealed at the seams and up the foundation walls. Many Torrance homes either have no barrier, or have one that’s been torn by years of plumbing and electrical work in the crawl space. When the barrier fails, ground moisture migrates up into the floor framing, and coastal humidity makes it worse because the crawl space never dries out on its own.
The fix is straightforward: replace the barrier, overlap seams by twelve inches, and seal at the piers. You can do this yourself in a weekend if the crawl space is accessible. If you’re seeing condensation on ductwork, musty smells, or cupping hardwood floors, the barrier is already failed. And if you’ve had a leak in the crawl space, you need more than a vapor barrier; you need extraction and drying to a standard. We run XPOWER air movers and Dri-Eaz dehumidifiers in crawl spaces in Torrance regularly, but we size the equipment package to the load. Under-drying a crawl space is a fast way to get mold on the floor joists, and then you’ve got a bigger problem. For actual mold growth, Mold Remediation in Torrance is the page to read.
How to Use a $15 Moisture Meter Before the Drywall Shows It
A pin-type moisture meter costs about fifteen dollars at any hardware store. It is the single most useful water damage prevention tool a Torrance homeowner can own. Here’s why: drywall can hold significant moisture before it visibly stains. By the time the paper face shows a water mark, the gypsum core is saturated and has lost structural integrity, and the moisture has been sitting long enough for mold to germinate.
The meter lets you catch saturation while it’s still in the cavity behind the drywall.
Here’s the protocol:
- Establish a baseline. Take readings on drywall in a known-dry area, like a hallway wall far from any plumbing. Note that number. Interior drywall in Torrance typically reads between five and eight percent moisture content depending on the season and proximity to the coast.
- Take monthly readings on walls adjacent to plumbing. The wall behind a tub-shower valve, the wall behind a kitchen sink, the ceiling below any bathroom, and the wall behind a washing machine.
- Interpret the numbers. A reading that’s two or three points above baseline on the same wall is a flag. A reading above twelve percent anywhere is moisture you need to track down. Above sixteen percent is active water intrusion, full stop.
- Map the area. Take readings in a grid pattern every six inches to define the wet area. If the wet area is small and readings are stable, monitor it. If it’s growing, call a pro.
This is not a gimmick list item. We use professional-grade moisture meters with penetrating and non-penetrating modes on every inspection, but the homeowner version works for early detection because the principle is the same: moisture changes the electrical resistance between the pins. What you’re looking for isn’t precision; it’s deviation from the baseline you already established. A wall that suddenly reads fourteen when it’s read seven for six months is telling you something.
We’ve used this exact data on claims in Torrance where the homeowner called us because the meter said fourteen and the wall looked fine. We opened the wall and found a pinhole in a copper supply line that had been spraying into the cavity for weeks. The drywall face was still intact. That’s the difference between a three-day dry-out and a full gut remodel with mold remediation. The Keegan Restoration Torrance home page has more about how we approach these situations.
Annual Documentation: What to Photograph and Why Insurers Care
Insurance adjusters look for reasons to classify damage as pre-existing neglect. That’s a fact of the industry, not a criticism of any particular carrier. When you file a water damage claim, the insurer will try to establish a timeline. If they can show the damage existed before the covered event or that you failed to maintain the system that failed, they can reduce or deny the claim.
Your annual documentation program is your defense. Here’s what to do once a year, around the same month:
- Photograph every supply line connection, including washing machine hoses, under-sink connections, toilet supply lines, and the water heater inlet and outlet.
- Photograph the interior of every cabinet under a sink with the date stamp turned on.
- Photograph the water heater, including the data plate showing the serial number and manufacture date.
- Photograph the HVAC condensate pan and drain line, if accessible, plus the emergency pan.
- Photograph the crawl space or attic at the accessible entry points, showing the vapor barrier condition or the roof sheathing condition.
- Keep receipts for any replacements: braided steel hoses, water heater, supply valves, any plumbing work. Staple them to a one-page log.
Store these photos in a folder on your phone or cloud drive. If you file a claim, the adjuster will ask for maintenance records. You’ll have them. More importantly, the photos establish a baseline. If a pipe fails in year three of your documentation, you can show that it was visually intact and properly maintained in years one and two. That’s a much stronger position than saying “I thought it was fine.”
Under The Garrison Code, we show up inside the window, put the price in writing, do the work by the book, leave the site clean, and stand behind it for a full year. Documentation is part of every job we do in Torrance, and we format it to support your claim from day one. That’s not a courtesy; it’s the difference between a claim that gets paid and one that gets nickel-and-dimed.
Common Mistakes to Avoid
- Replacing a washing machine hose with another rubber hose. The failure mode is the same. Braided stainless steel is the only correct replacement, and it costs six dollars more. If the old one bursts and floods the laundry room, the $6 savings looks absurd in hindsight.
- Ignoring a slow drain because it “still works.” A slow drain is the early symptom of a failing line. By the time it stops working entirely, you’ve had a leak at a joint or crack for months. Torrance homes with original cast iron should treat slow drains as a sign to inspect, not snake and forget.
- Painting over a water stain without finding the source. This is the most common mistake we see on seller disclosures in Torrance. The stain comes back, the buyer finds it, and the deal falls apart or the price drops. Find the source, fix it, dry it, then paint.
- Assuming a crawl space is supposed to smell musty. It’s not. A properly vapor-barriered crawl space with working ventilation has a neutral smell. Musty means moisture is present, and moisture in a crawl space means biological activity on the framing.
- Waiting until you smell mold to act on a moisture issue. By the time you can smell it, the mold has been growing for weeks and has produced a spore load that requires professional remediation, not cleaning. That’s the Category 1 to Category 3 progression we described at the top of this guide.
- Trusting a home inspector’s moisture reading from five years ago. Conditions change. Plumbing ages. Seasons cycle. Your maintenance data needs to be current. That’s the whole point of the annual documentation program.
When to Call a Professional
Call a professional when the source of the water is inside a wall, ceiling, or floor cavity and you cannot see it. Call when your moisture meter reads above sixteen percent and the reading is growing. Call when you’ve had a supply line burst, a water heater fail, or any event that released more water than a towel can handle. Call when you see mold on more than ten square feet of surface. Call when you can smell moisture but you can’t find it. Keegan Restoration Torrance offers free estimates in Torrance, and a live person answers at (424) 323-4271, 24 hours a day, seven days a week. We’ll tell you what you’re dealing with in plain language, and we’ll put the price in writing before any work starts.
Frequently Asked Questions
Twice a year, in spring and fall. Spring catches winter rain damage before summer humidity accelerates mold growth. Fall checks supply lines and water heater connections before the holiday load of guests, laundry, and dishwashing. In Torrance’s coastal climate, the fall inspection is the more important of the two because winter storms and December plumbing failures are common.
Supply line failures, specifically washing machine hoses and water heater connections, are the most common sources we respond to in Torrance. They are followed by HVAC condensate overflow and slow drain leaks behind walls. The unifying factor is that all of these are preventable with the right inspection cadence and replacement schedule.
If the crawl space smells musty, the vapor barrier is torn or missing, or you see condensation on ductwork and floor joists, your crawl space has a moisture problem. In Torrance’s coastal humidity, a failed vapor barrier allows ground moisture to load the framing continuously. The fix starts with replacing the barrier and ensuring the crawls space ventilation is adequate.
Coverage depends on your policy and the cause of the leak. Many policies cover sudden and accidental discharge, like a burst supply line, but exclude or limit coverage for damage classified as long-term seepage or lack of maintenance. That’s why the annual photo documentation program in this guide is important: it creates a record of maintenance that makes it harder for the insurer to argue neglect.
In Torrance’s coastal climate, mold can begin growing in as little as 48 to 72 hours when moisture and organic material are present. The high ambient humidity we get from morning fog and coastal air slows natural drying, which extends the window for mold germination compared to drier inland areas. That’s why fast extraction and professional drying with equipment like Dri-Eaz dehumidifiers matters more here than in the Valley.
A pin-type moisture meter measures the moisture content of building materials. A baseline reading on known-dry drywall in Torrance is typically five to eight percent. A reading of twelve percent or higher on a wall that should be dry means moisture is present. A reading above sixteen percent means active water intrusion and you should investigate the source immediately.
The Bottom Line
Water damage in Torrance is mostly a maintenance problem, not a weather problem. The big losses come from supply lines and drain lines that failed because nobody looked at them, HVAC condensate that overflowed because the drain was clogged, and crawl space moisture that accumulated for years because the vapor barrier was ignored. The prevention program is not complicated: inspect the five system groups twice a year, replace washing machine hoses and water heaters on schedule, use a moisture meter before the drywall shows it, and document everything with photos. If you follow this checklist, you will catch most failures at the stage where they cost a few hundred dollars to fix instead of several thousand to restore. And if you do have a water event, the 365-Day Done Right Promise means that when Water Damage Restoration in Torrance finishes the job, it stays finished for a full year, in writing. Call (424) 323-4271 for a free estimate.
Written by Shane Pruitt, Owner at Keegan Restoration Torrance, serving Torrance since 2005.
See the difference
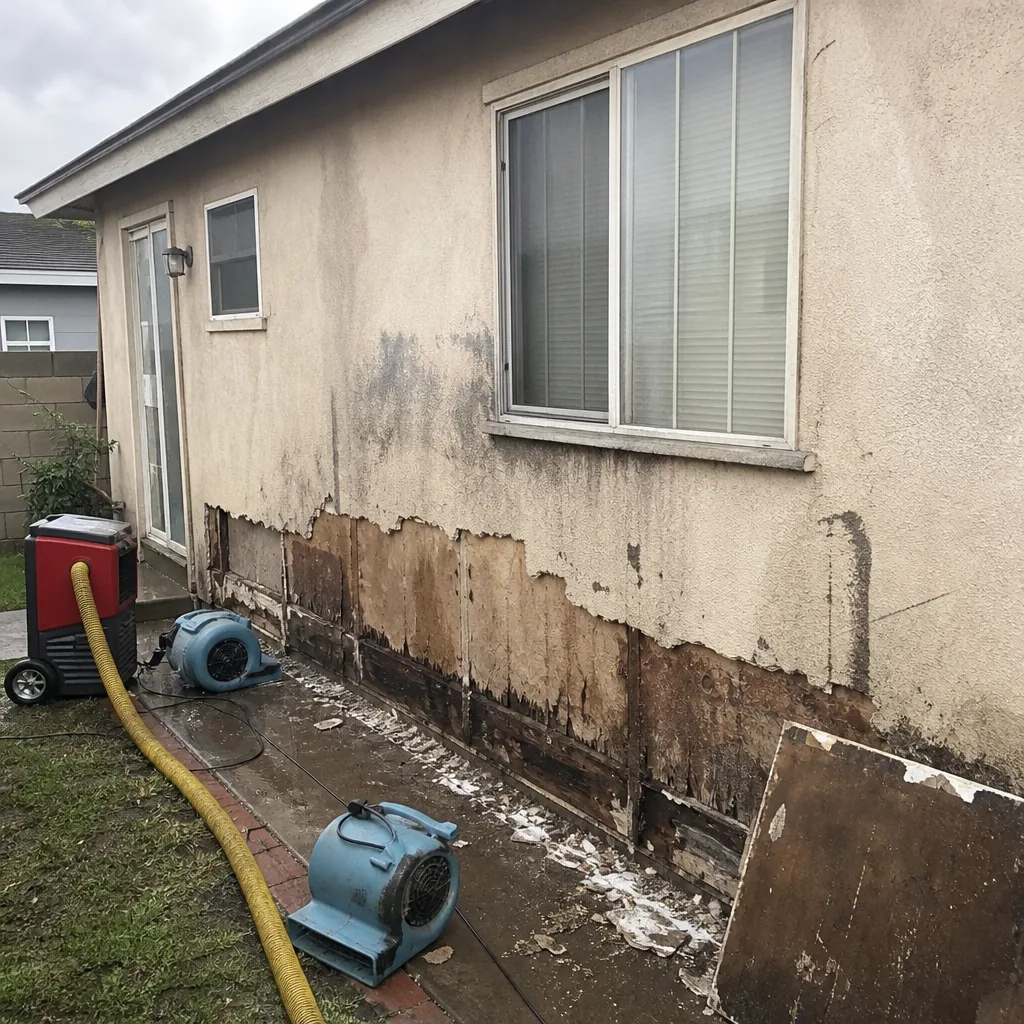 Before
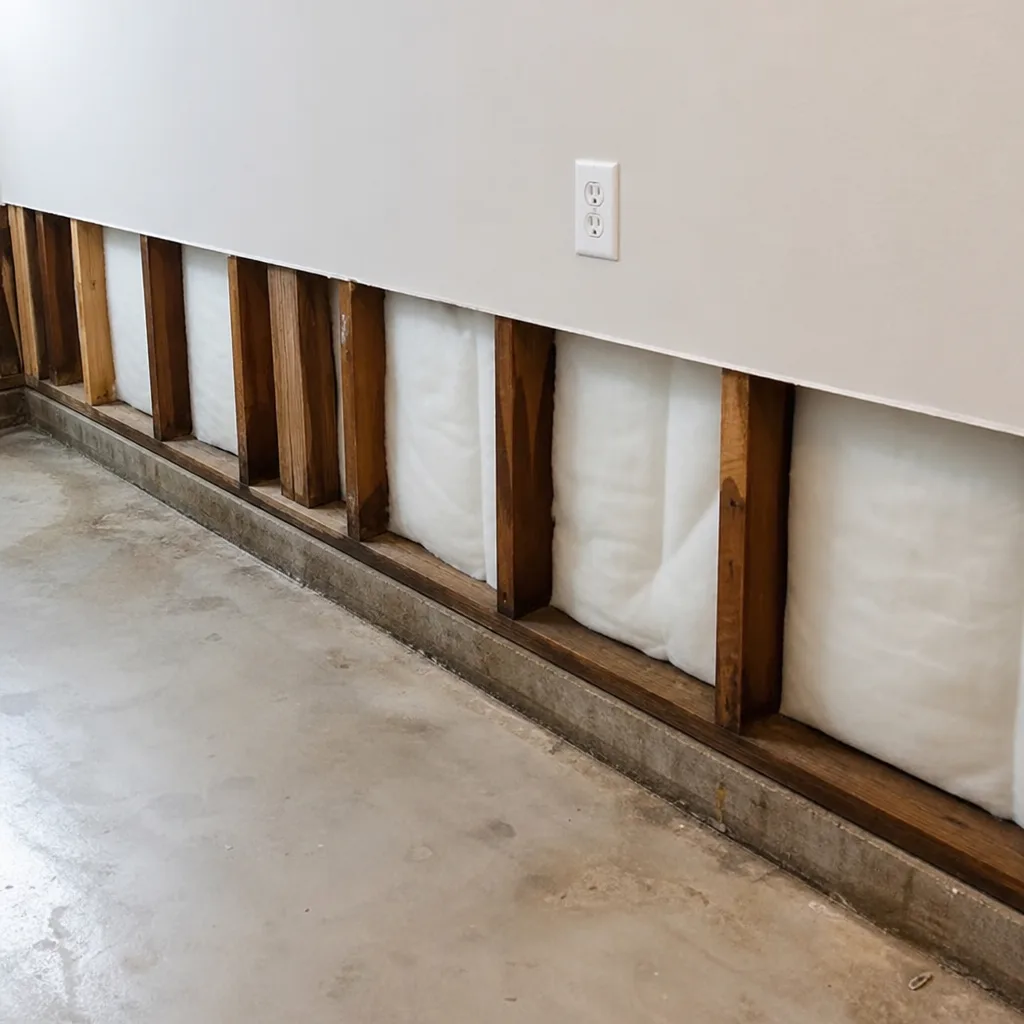 After
After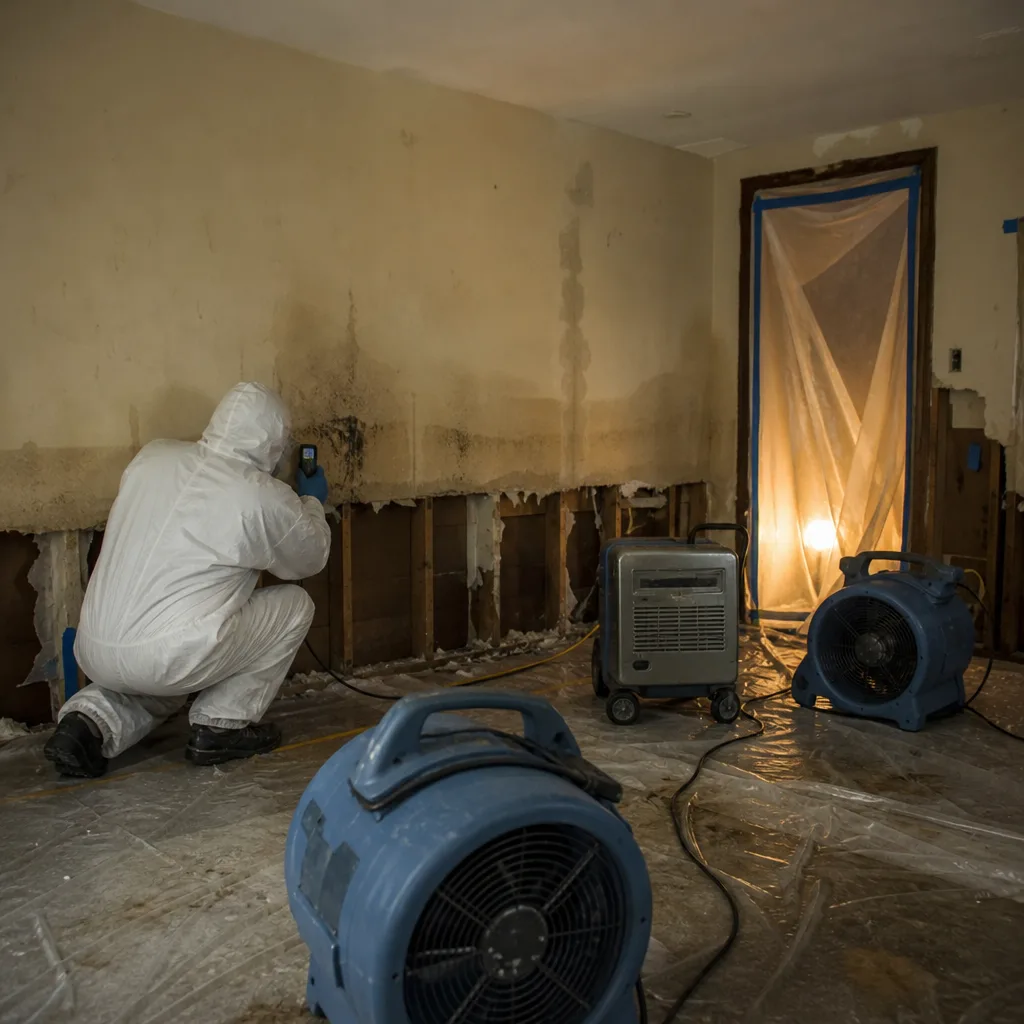 Before
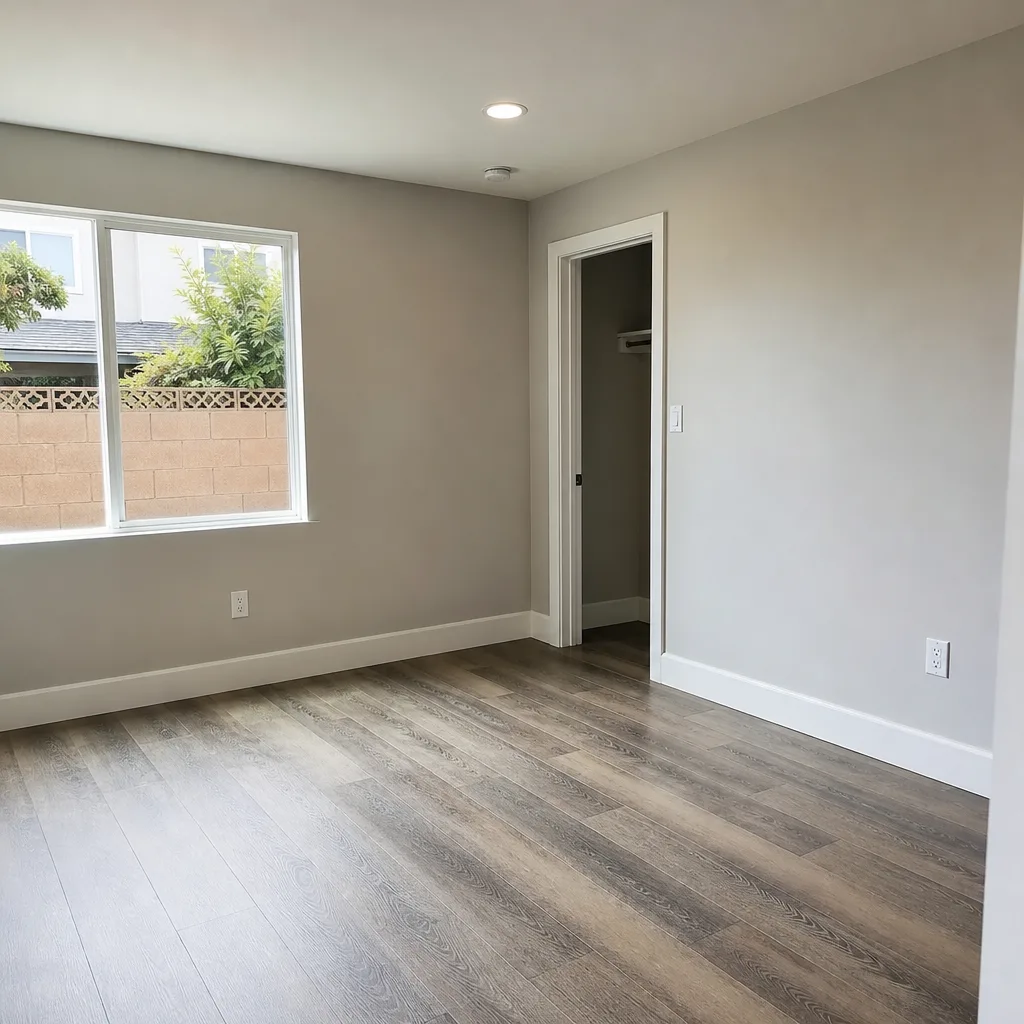 After
After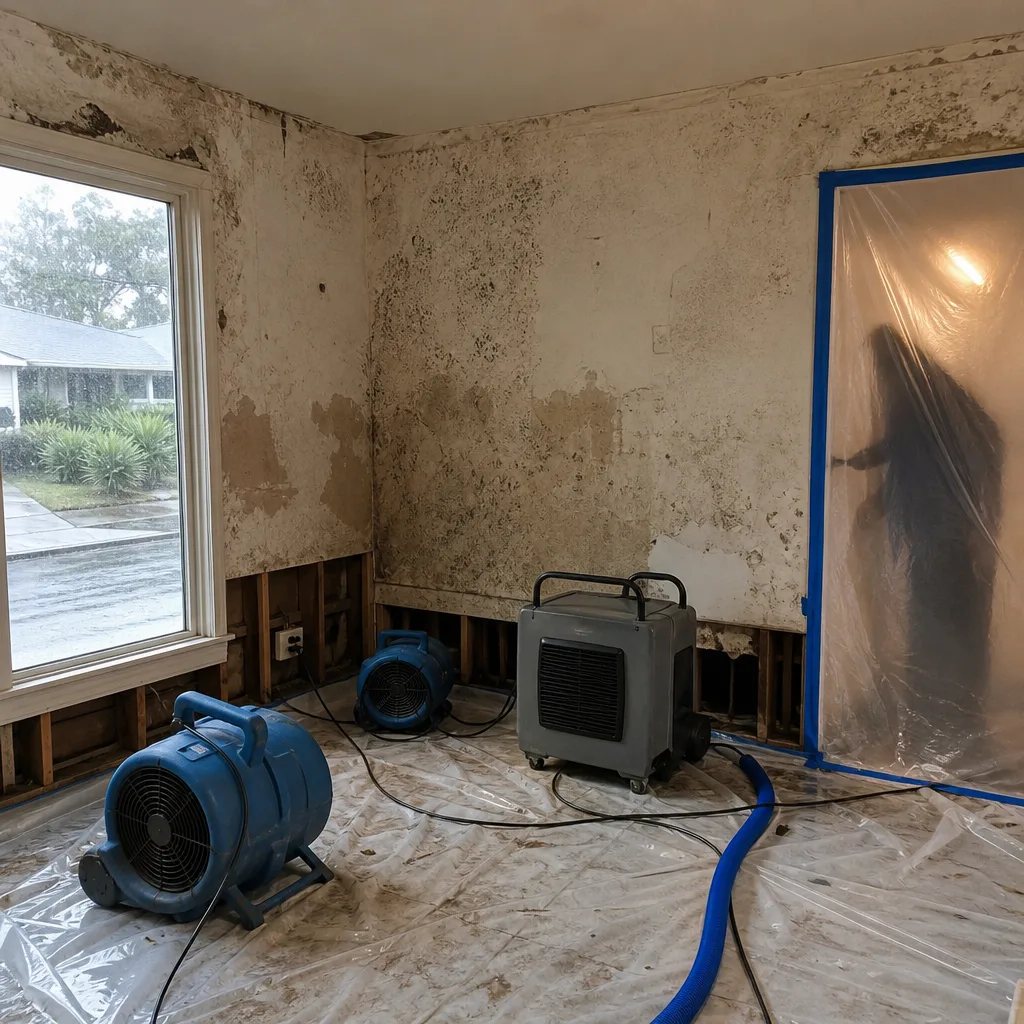 Before
 After
After